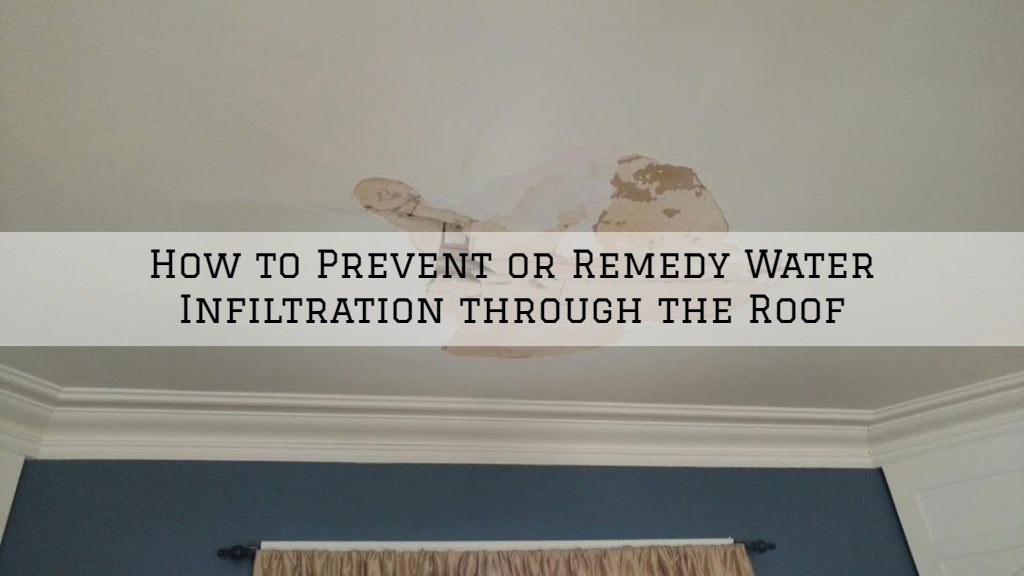
How to Prevent or Remedy Water Infiltration through the Roof Louisville, KY?
November 24, 2020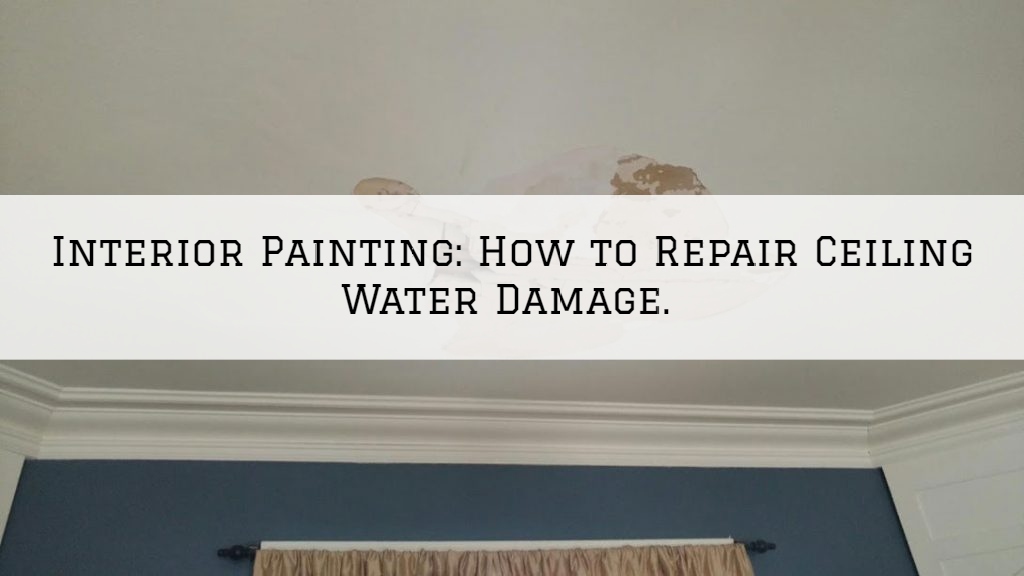
Interior Painting Louisville, KY: How to Repair Ceiling Water Damage.
December 17, 2020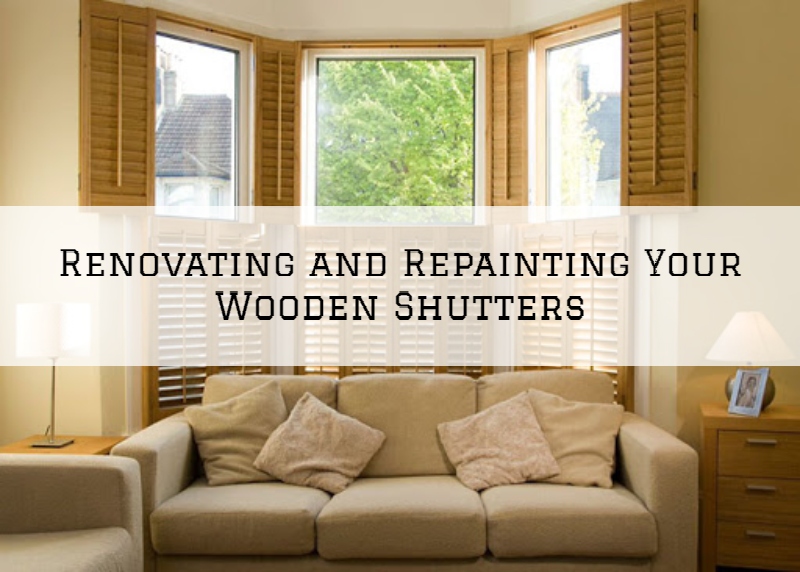
Renovating and Repainting Your Wooden Shutters in Jefferson Town, KY
Do you want to give your wooden shutters a fresh boost? These are indeed both protective and aesthetic for your home since they beautify the facade.
Unlike aluminum and PVC, wood needs maintenance because bad weather and the sun affect its surface.
Fortunately, renovating and repainting your shutters is easy. Here are our tips and the steps to follow to achieve it successfully.
Step 1: Preparation
Before you start, make sure you are working in good conditions.
It would be best if you had all the necessary equipment at hand. Make yourself comfortable, ventilated, and protected from bad weather and the sun.
You can work both indoors and outdoors, but avoid dirty and dusty places, as dirt can stick to the still wet paint.
Ideally, avoid operating at a time that is too cold or too hot. Your paint should dry well, but not too quickly to avoid streaks.
Be patient and equip yourself with several pairs of trestles to save time. A pair will allow you to treat only one shutter, the time to renovate it, repaint it, and let it dry, and this for each side.
Remember to protect yourself as well. You can wear gloves and a suitable coverall. Also, protect your floor with a canvas if you are working indoors.
Step 2: disassembly
Remove the shutters from their hinges to be able to paint them. Place them on a pair of trestles, themselves placed on flat ground to avoid sagging. With a screwdriver, remove all metal parts.
Step 3: stripping
Before renovating and repainting your shutters, you must carefully strip them with sandpaper to remove the paint’s previous layers. Otherwise, you will never get a clean result, and the paint will peel very quickly before peeling off.
The best way to do this is to start with coarse sandpaper and fine-tune the grain over layers.
Finish with a careful dusting with a damp sponge (not soaked), then microfiber cloths. Let dry well before moving on to the next step.
Step 4: repair
Before thinking about painting, you have to go through the renovation stage. Fill all the holes and cracks with wood filler that you will apply with a spatula.
Smooth well on the surface and let dry for the time indicated in the manufacturer’s instructions.
When the paste is dry, sand the surface with your sandpaper so that the paint sticks well and dust again.
Step 5: the underlay
The underlay is not mandatory, but it is nevertheless essential for a job well done.
It allows a more aesthetic rendering, more uniform, and more durable because it protects the wood and facilitates the paint’s adhesion.
Grab your brush, fold the bristles between your fingers, and dip it in the water to remove any hairs that don’t hold well; this will prevent them from sticking to the paint.
Apply your undercoat with the round brush, starting at the edges, angles, and gaps between the wood planks.
Do not use too much to avoid an overdose, which will cause sagging. Then use your roller to paint the flat surfaces.
Step 6: painting
Apply your paint as you did for the undercoat, starting with edges, corners, and gaps with a brush before painting flat surfaces with a roller.
Do not use too much product to avoid runs. Let dry, then turn the shutter over to paint the other side.
If your shutters require a second coat, wait until the first is completely dry before applying.
Step 7: the finishing touches
To protect your wooden shutters and prolong the acrylic paint’s shine, we recommend that you apply a coat of varnish.
If you bought glycerol paint, the varnish is unnecessary.
Reinstall the metal parts on your shutters and put everything back in place. Your work is then finished.
Need Help With That?
If you need any help to repaint your window shutters or home in general, our team at Serious Business Painting can help.
We serve Louisville, Shelby County, Oldham County, Anchorage, Prospect, and Jefferson Town, Kentucky.
Book a FREE estimate below or call us at 502-641-7969 if you need any more information.