
How To Choose A Paint Color For Your Kid’s Bedroom in Jefferson Town, KY
September 8, 2024
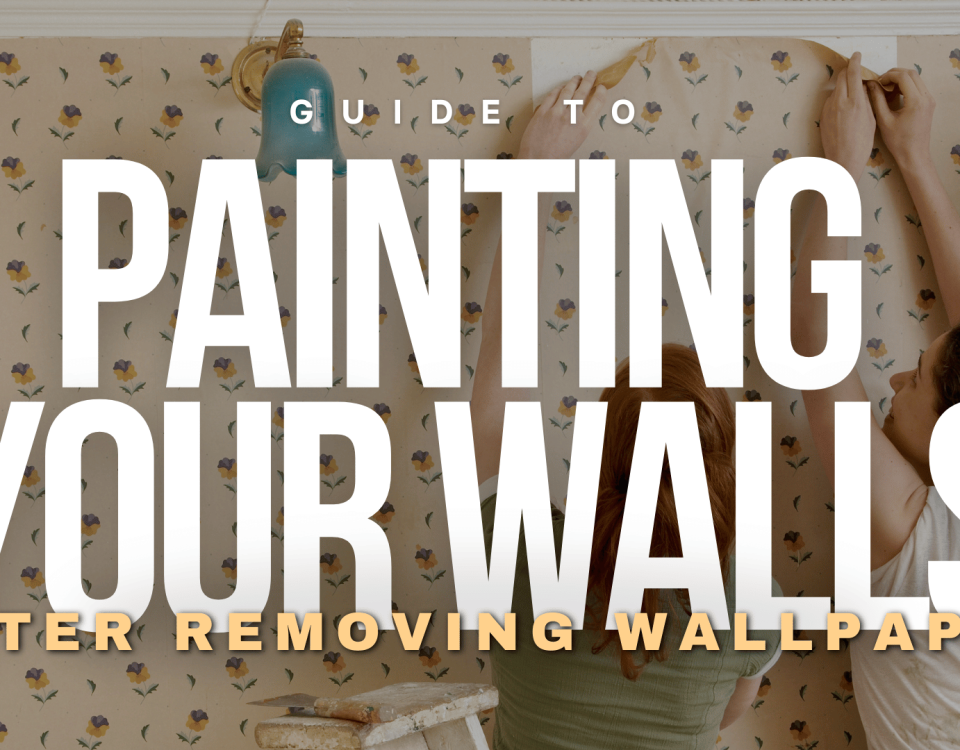
Guide To Painting Your Walls After Removing Wallpaper in Shelby County, KY
October 8, 2024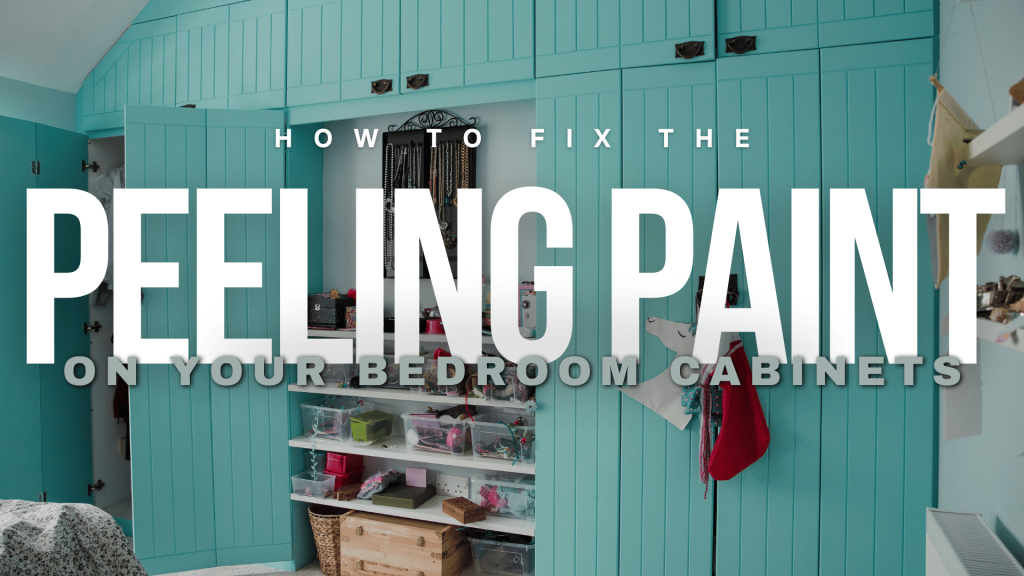
Having peeling paint on your bedroom cabinets can be an eyesore, making your space feel less polished and well-maintained.
Fortunately, with some basic tools and a bit of patience, you can restore your cabinets to their former glory.
Without further ado, here is a guide on How To Fix The Peeling Paint On Your Bedroom Cabinets.
1. Assess The Damage First
Before getting right into your repair project, you’ll want to properly assess the damage of the peeling paint on your cabinets first.
This is to get an idea of the extent of the damage; whether it is limited to a small area or widespread across cabinets.
Through this process, you also get to determine why the paint on your bedroom cabinets has peeled in the first place, which could be through:
- A lack of primer application prior to painting;
- Using low-quality paint
- Lack of surface preparation before painting;
- Moisture in the area, or other environment-related factors
- The natural process of aged paint
Essentially, in this process of assessment, you get to know where you stand in your project, how to move forward, and what to avoid to ensure that this time, your cabinets won’t be peeling again anytime soon.
2. Prepare For The Project
After a rigorous assessment of your cabinets, you’ll now want to proceed with the preparation process leading up to your project.
First, you’ll want to gather all the materials you’ll need for the project, which includes but is not limited to:
- Painter’s tape
- Drop cloths or old sheets
- Putty knife or scraper
- Sandpaper (various grits)
- Primer (preferably a bonding primer)
- Paint (matching the existing color or a new color)
- Paintbrushes or rollers
- Paint trays
- Wood filler (if needed)
- A clean, damp cloth
Next, you’ll want to prepare the area where you’re going to be painting.
You’ll want to remove all items in your cabinets, put drop cloths or old sheets to protect nearby areas, and use painter’s tape to cover the edges and other hardware, such as handles and hinges.
If the peeling is extensive, you might want to remove the cabinet doors and drawers entirely to make the painting process more efficient.
Once the area is prepped, use a putty knife or scraper to gently remove any loose or flaking paint, while being careful not to gouge the material underneath.
3. Sand and Smooth the Surface
Next, you should sand your cabinet surface.
Sanding is a crucial step that many DIYers rush through, but taking your time here will make a big difference in the final result.
Start by sanding the affected areas with medium-grit sandpaper (around 120-150 grit) to remove any remaining paint and rough spots.
If there are deep scratches or gouges, now’s the time to fill them with wood filler. Apply the filler with a putty knife, smoothing it out to blend with the surface.
After the initial sanding and filling, switch to a finer grit sandpaper (220-240 grit) and sand the entire surface lightly.
Finally, use a clean, damp cloth to wipe down the cabinets, removing any dust and debris from the sanding process.
Remember that this process will help you create the ideal surface to adhere to for both your primer and paint, essentially reducing the chances of paint peeling in the near future.
4. Prime Your Cabinets First
After an extensive preparation process, you’re now just a step away from freshly painted cabinets – but before that, you should prime your cabinets first.
Priming your cabinets prior to painting them is important since the lack of primer itself is a root cause for early paint peeling.
This is because primer helps improve your paint’s adhesion, providing a smooth and lasting finish as a result.
So, when shopping for materials, don’t forget to add a can of primer or two to your cart!
5. Paint Your Cabinets
After primer application, it’s finally time for the fun part – applying a fresh coat of paint to your cabinets!
In doing this, make sure to apply the paint in thin, even coats, and allowing each coat to dry thoroughly before applying the next.
This will also help in avoiding early paint peeling.
It’s up to you to gauge whether you’re satisfied with the finish, but usually two to three coats will be sufficient for a bright, smooth, and clean paint finish.
Now, all there’s left is to wait for the paint to dry before reassembling your freshly painted cabinets!
Hire a Professional Painting Contractor
Having said that, if you don’t have the time, skill, or tools to repaint your home interior Serious Business Painting can help.
We are currently serving the areas of Louisville, Shelby County, Oldham County, Anchorage, Prospect, and Jefferson Town, Kentucky.
Book a FREE estimate below or call us 502-641-7969 if you need any more information.
Related: Tips For Preparing To Paint Your Dining Room in Oldham County, KY
How To Choose A Paint Color For Your Roof in Shelby County, KY