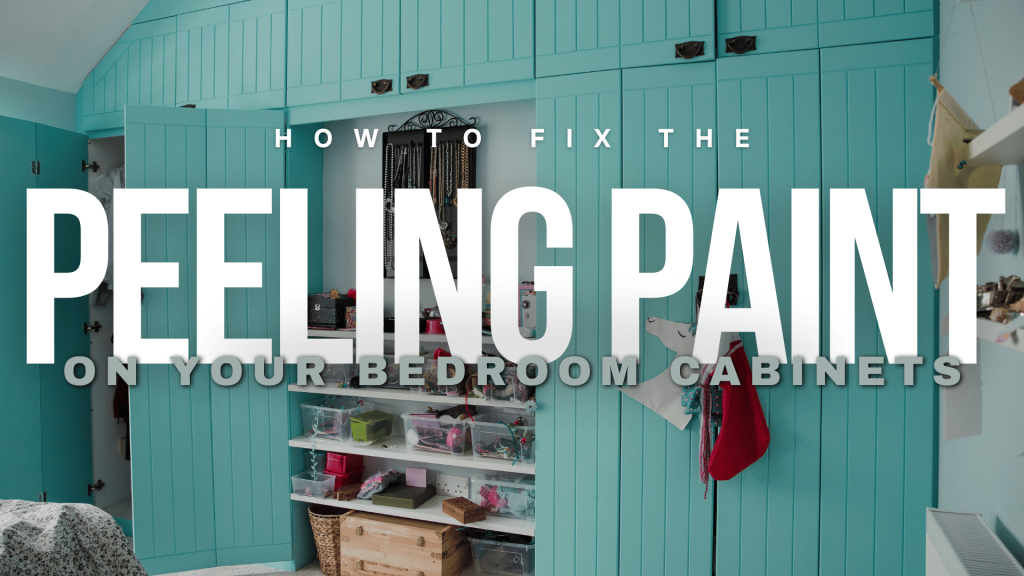
How To Fix The Peeling Paint On Your Bedroom Cabinets in Louisville, KY
September 22, 2024
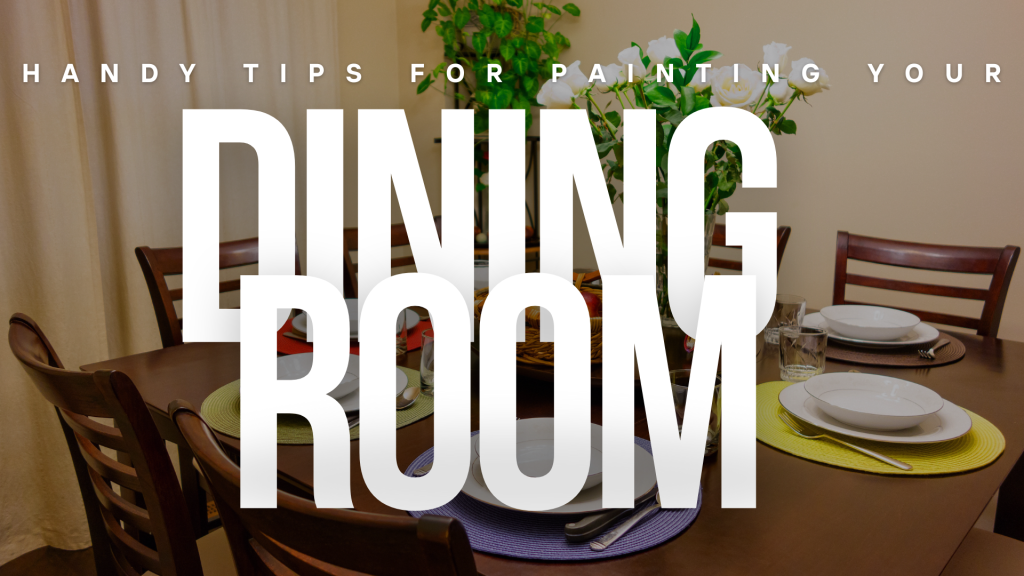
Handy Tips For Painting Your Dining Room in Oldham County, KY
October 22, 2024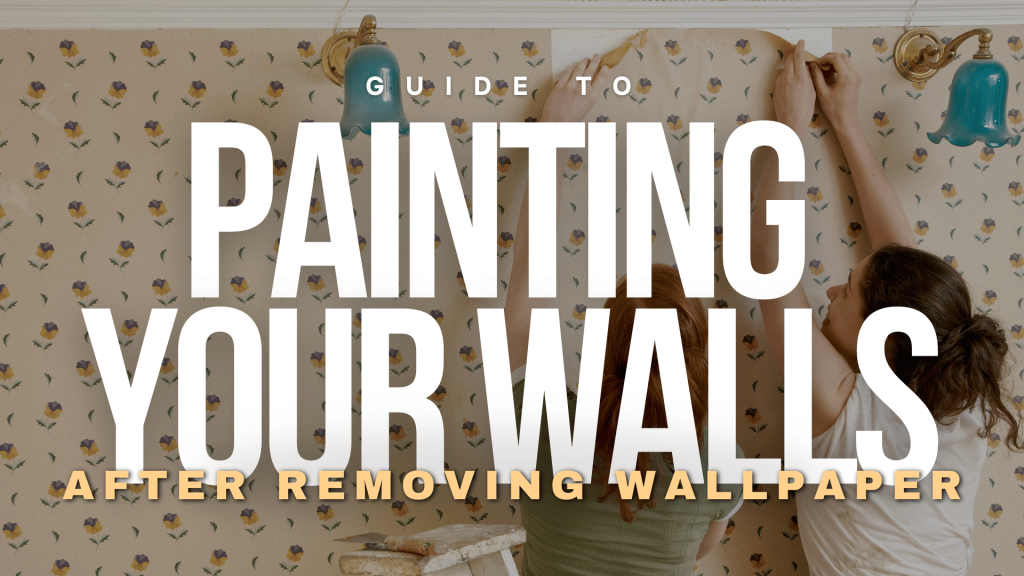
Removing old wallpaper can dramatically transform your living space, but the job isn’t finished once the paper is down.
The walls underneath may be less than paint-ready, requiring some attention before you can apply that fresh coat of paint.
So, if you’re caught up exactly in this kind of dilemma, sta
Painting walls after removing wallpaper involves several crucial steps to ensure a smooth, professional finish.
In this guide, we’ll walk you through the five essential steps to prepare and paint your walls after wallpaper removal.
1. Thoroughly Remove Wallpaper Residue
While removing wallpaper is a pretty straightforward job, it’s the adhesive residue that remains on your walls that can be quite tricky.
This sticky residue, if not properly taken care of prior to paint application, will both compromise your coat of paint’s overall quality and lead to messy results.
So, here’s how you should tackle this:
- Soak and Scrape: Use a sponge or spray bottle to dampen the adhesive with warm water mixed with a bit of dish soap or a commercial wallpaper remover. Let it soak for a few minutes to loosen the glue.
- Gently Scrape Off Residue: Use a wide putty knife or scraper at a low angle to carefully remove the softened adhesive. Be cautious to avoid gouging or damaging the wall surface.
- Rinse the Walls: After scraping, wipe down the walls with a clean, damp cloth to remove any remaining traces of adhesive or cleaning solution.
2. Sand The Surface
While removing the sticky residue by hand is particularly helpful, it might not be enough to ensure a smooth and clean surface.
As a necessary extra measure, you’ll want to proceed by sanding the entire surface to fully ensure a smooth and clean surface to paint on.
Here’s the process to do that:
- Lightly Sand the Walls: Use a pole sander or sanding block with fine-grit sandpaper to gently sand the entire wall. This smooths out minor imperfections and rough spots.
- Remove Dust: After sanding, thoroughly clean the walls with a damp cloth or tack cloth to remove all dust particles. Dust can prevent primer and paint from adhering properly.
3. Repair and Patch Possible Damage
Over time, your walls may have sustained damage beneath the wallpaper, and you only get to discover these damages after you’ve removed the wallpaper.
Addressing these issues prior to paint application is important, to ensure a smooth paint finish.
Failure to do so will only increase the chances of these damages escalating into something much worse in time!
So, to avoid that, here’s what you should do:
- Inspect the Walls: Look for any damage like nail holes, cracks, or areas where the drywall paper has torn.
- Apply Spackle or Joint Compound: Use a putty knife to fill small holes and imperfections with spackle. For larger areas or damaged drywall, apply joint compound.
- Allow to Dry: Follow the manufacturer’s instructions for drying times, which can vary depending on the product and the size of the repair.
- Sand the Repaired Areas: Once dry, sand the patches smooth with fine-grit sandpaper (around 120- to 220-grit) until they are flush with the surrounding wall.
4. Prime the Walls
Now that everything’s smooth and clean, you’re just a step away from painting your walls – but before that, you should apply a coat of primer first.
Primer is essential for any painting project, and most especially after wallpaper removal, to ensure that you’re applying your paint on a clean, blank canvas.
More importantly, a coat of primer will enhance your paint’s overall durability, significantly reducing the chances for some of the most common paint problems, and ensuring that you get to enjoy your hard work for a longer time.
5. Paint Your Walls
Now that you have everything out of the way, it’s now time for the fun part – painting your walls!
- Select Quality Paint: Invest in a high-quality interior paint suitable for your room’s needs (e.g., washable paint for kitchens or bathrooms).
- Gather Your Tools: You’ll need rollers, brushes, a paint tray, painter’s tape, and drop cloths to protect floors and furniture.
- Cut In Edges First: Use a brush to paint along edges, corners, and trim where rollers can’t reach. This technique ensures full coverage and neat edges.
- Use the Right Rolling Technique: Load your roller evenly and apply the paint in a “W” or “M” pattern, then fill in the gaps without lifting the roller. This helps distribute the paint uniformly.
- Apply Multiple Coats if Necessary: One coat might not provide the desired coverage, especially over primer. Allow the first coat to dry completely before applying a second.
- Maintain a Wet Edge: Work systematically across the wall, keeping a wet edge to prevent lap marks and ensure a smooth finish.
After painting, allow the walls to dry thoroughly before moving furniture back or hanging decorations.
Hire a Professional Painting Contractor
Having said that, if you don’t have the time, skill, or tools to repaint your home interior Serious Business Painting can help.
We are currently serving the areas of Louisville, Shelby County, Oldham County, Anchorage, Prospect, and Jefferson Town, Kentucky.
Book a FREE estimate below or call us 502-641-7969 if you need any more information.
Related: Tips For Preparing To Paint Your Dining Room in Oldham County, KY
How To Choose A Paint Color For Your Roof in Shelby County, KY
